


Preview environments (ephemeral environments) are temporary deployments of a certain version of your application, typically done for every feature branch.
Let’s walk through a scenario. You’re building a React application for your company or as a side project that you want to maintain. You’d like others to potentially contribute to the project, and you’d like to share a link for others to test out the application, or to yourself so you can test your application thoroughly before deploying to production - this is where preview environments would help.
In this tutorial we’re going to set up a React app with create-react-app, and create a preview environment that you can use to temporarily share with others. We’ll take you through the following five phases (each phase has detailed steps):
Phase 1: Create React App
Phase 2: Push your React App to GitHub
Phase 3: Install webapp.io on your repo
Phase 4: Add a Layerfile to your project
Phase 5: Push your code
Phase 6: Check out your preview environment
Feel free to skip any phases if you feel they are unnecessary, and if you have any questions, please feel free to reach out to our team.
** NOTE: This tutorial goes through a simple example using create-react-app, however Layerfile's can support any configuration of your application regardless of the stack or technology used. **
Phase 1: Create React App
Step 1: Create your React App
This is taken directly from the React docs page. You’ll need to have Node >= 14.0.0 and npm >= 5.6 on your machine. To create our project for this demo, we’ll run:
npx create-react-app preview-environments-demo
cd preview-environments-demo
npm start
Reference: https://reactjs.org/docs/create-a-new-react-app.html#create-react-app
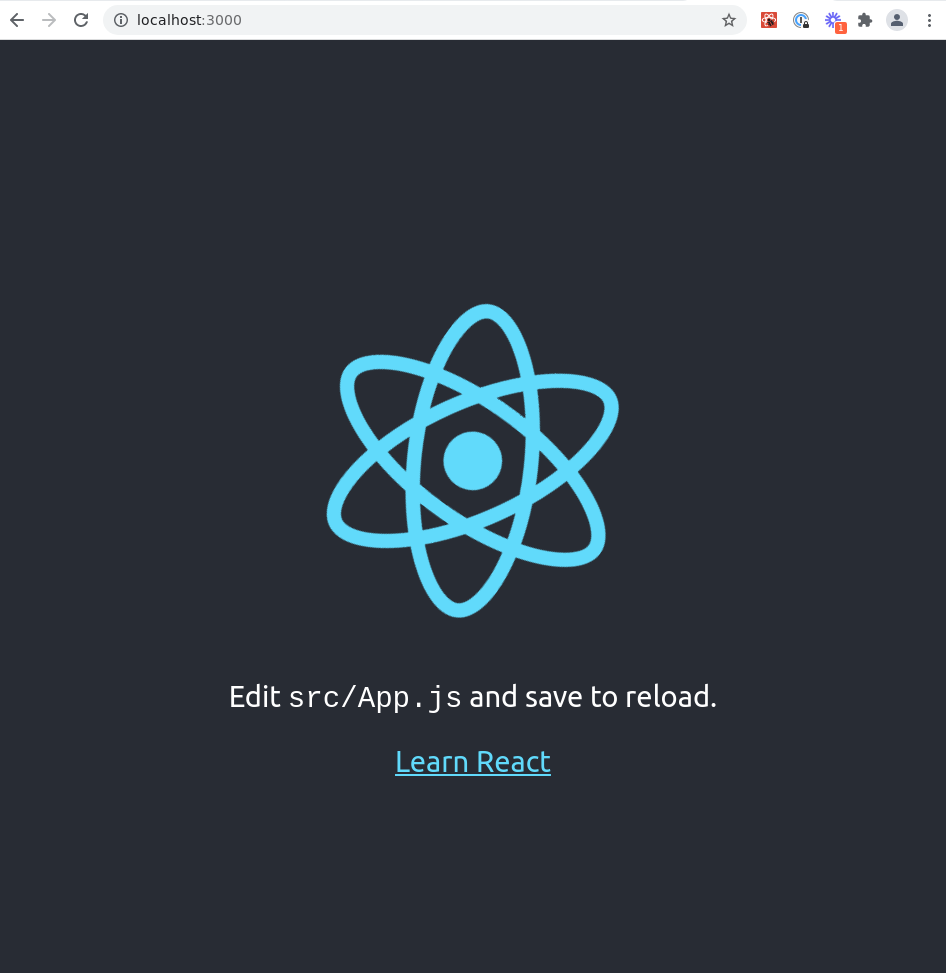
After running the last command, we’ll head over to http://localhost:3000 to see our React app running.
Step 2: Make a change to your React App
Navigate to ./src/App.js and make a change. We’ll change the <p> tag to “Welcome to webapp.io!”.
import logo from './logo.svg';
import './App.css';

function App() {
 return (
   <div className="App">
     <header className="App-header">
       <img src={logo} className="App-logo" alt="logo" />
       <p>
         Welcome to
         <a href="https://webapp.io" style={{ color: "white" }}>
         	webapp.io
         </a>
       </p>
       <a
         className="App-link"
         href="https://reactjs.org"
         target="_blank"
         rel="noopener noreferrer"
       >
         Learn React
       </a>
     </header>
   </div>
 );
}

export default App;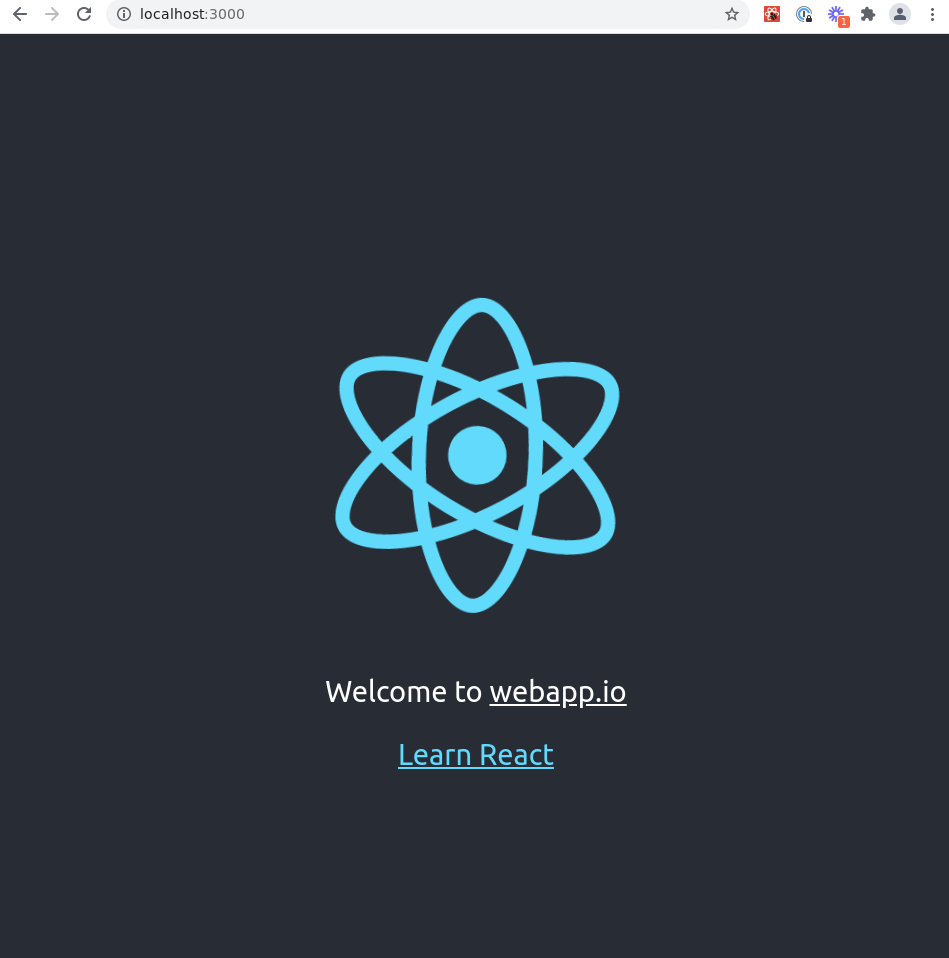
Phase 2: Push your React App to GitHub
Step 1:
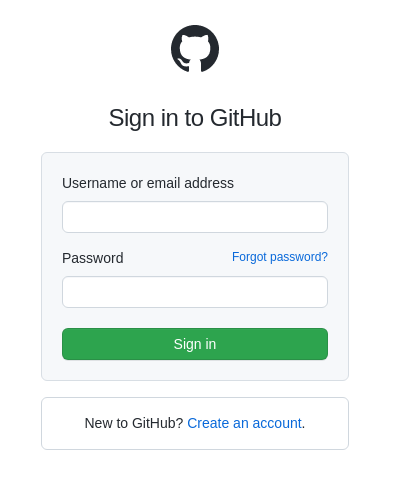
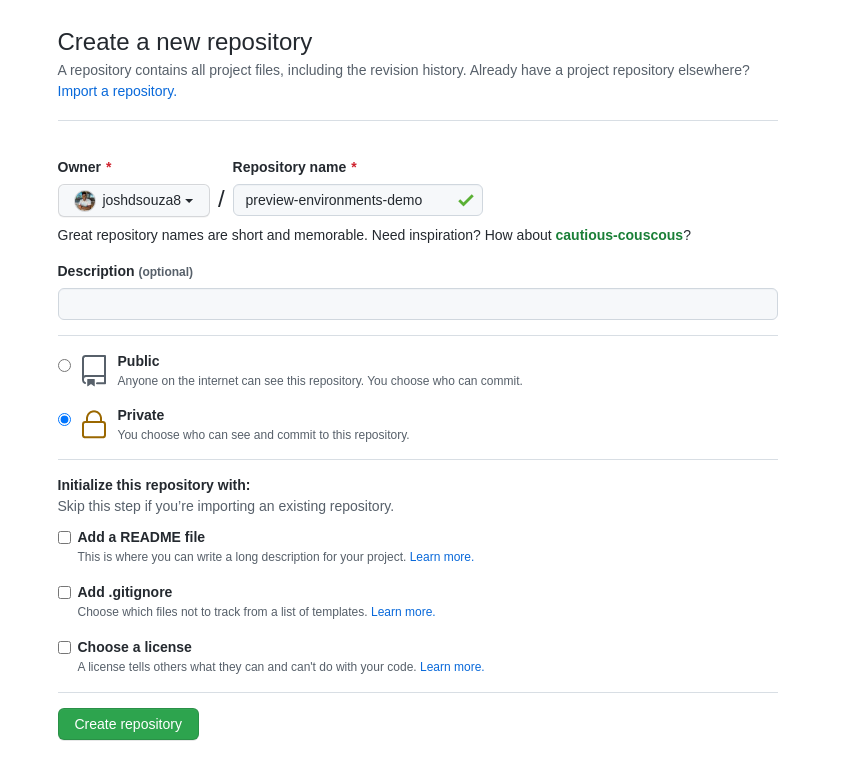
If you don’t already have an account, create an account on GitHub and create a repository to hold your project. We’ll call ours “preview-environment-demo”.
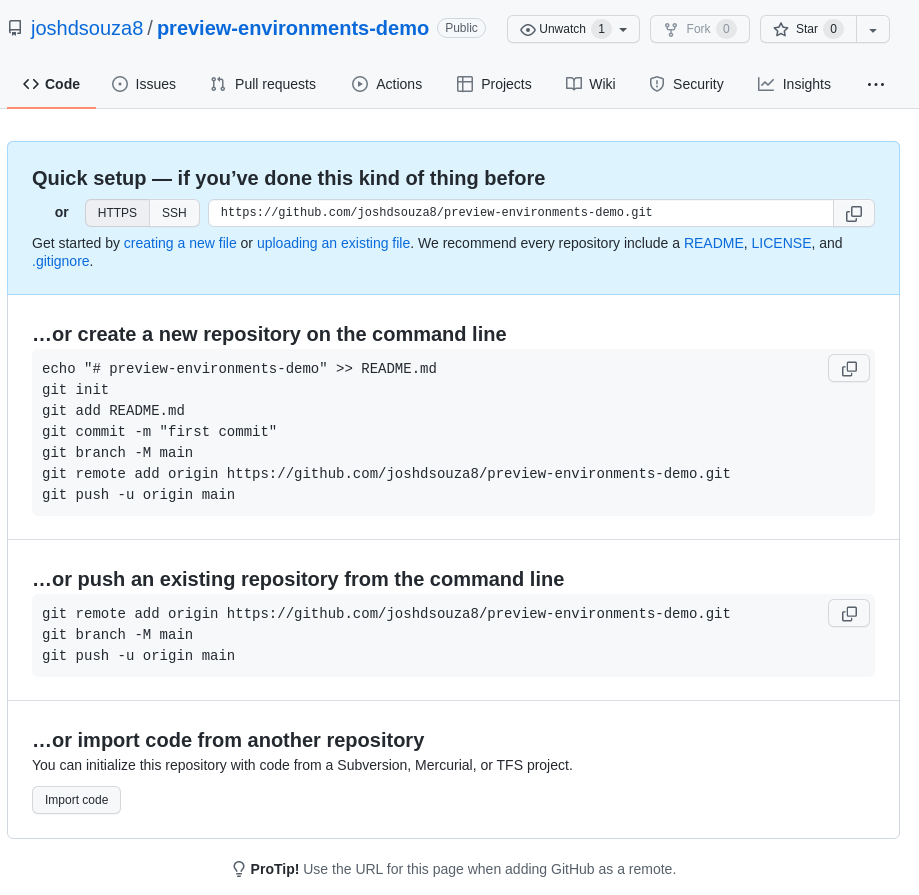
Once your repository is created, let’s upload the project to your repository in your command line. If you need Git in your command line, follow the instructions specific to your platform here https://github.com/cli/cli#installation.
We can follow the steps described in the GitHub repository to upload our project. For us, we’ll do the following:
git init
git add .
git commit -m “first commit”
git remote add origin (YOUR ORIGIN HERE)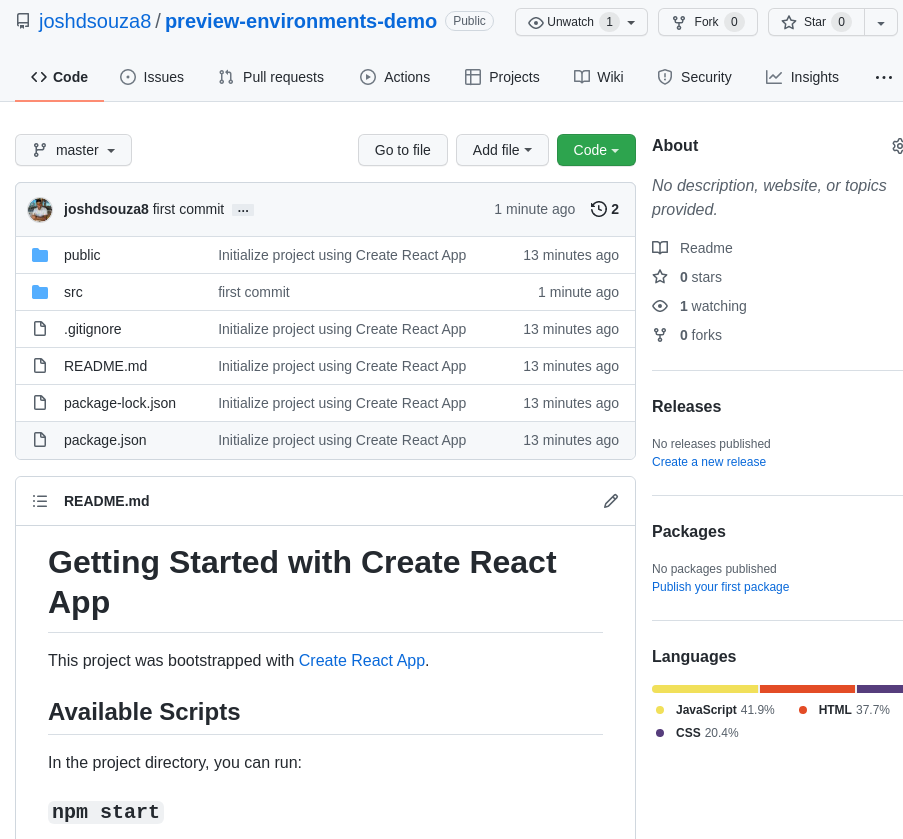
git push origin masterIf prompted to sign in when you try to push to master, please follow the steps accordingly.
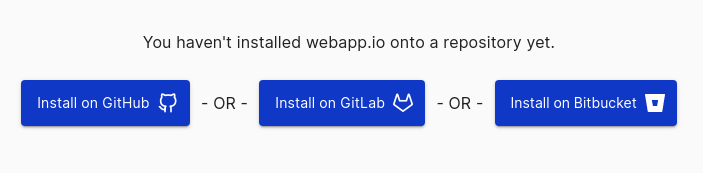
Phase 3: Install webapp.io on your repo
Step 1:
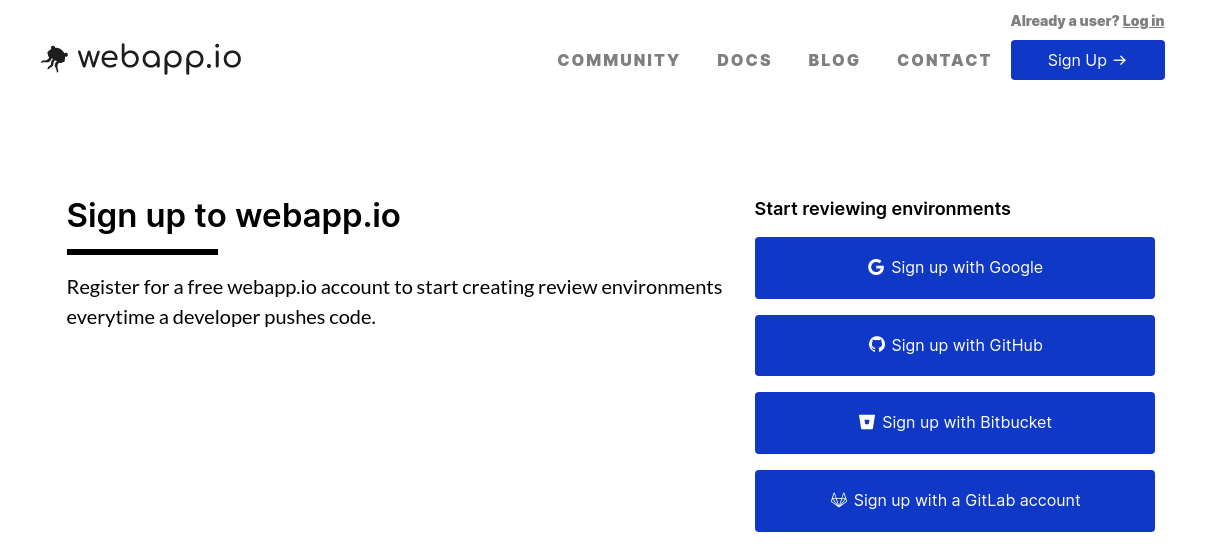
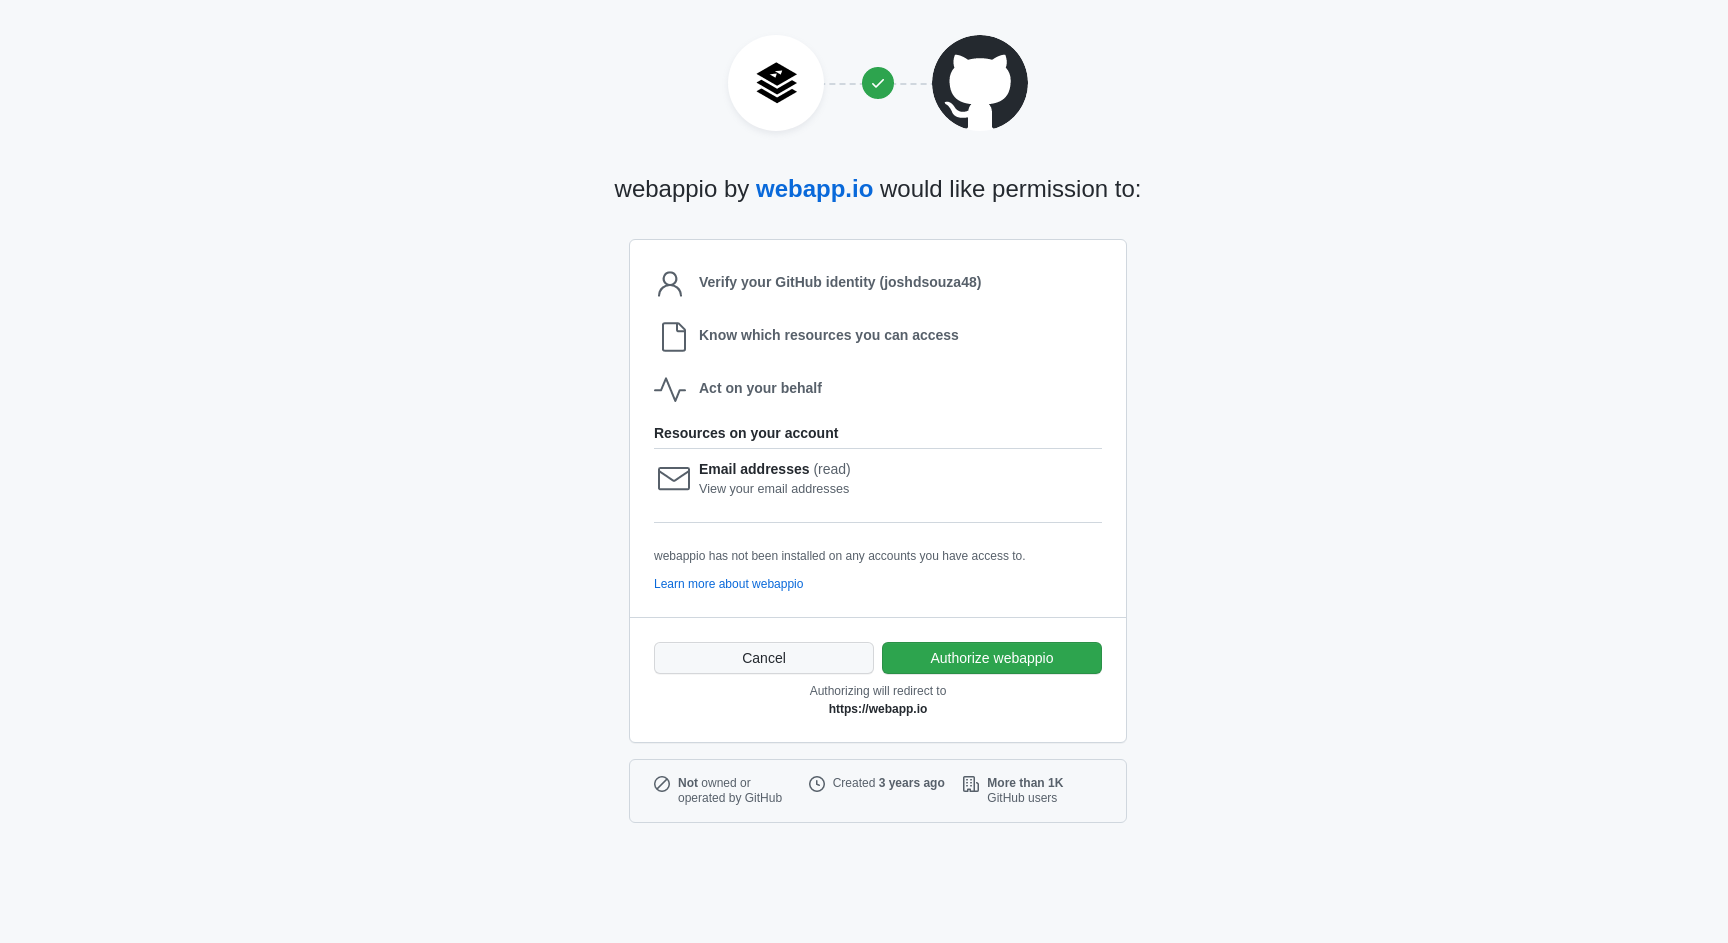
Head over to https://webapp.io/sign-up and sign up with your GitHub account.
Step 2:
Install webapp.io onto your GitHub repository.
Phase 4: Add a Layerfile to your project
FROM Command:
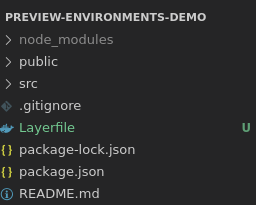
Now to the bulk of the tutorial! In your codebase, create a new file at the root of the repository and name it Layerfile (no extension). A Layerfile is a set of instructions that tells webapp.io how to setup and run your application.
In this phase, we’ll take you through a detailed step-by-step breakdown of the commands to add to the Layerfile. At each step, copy and paste the given command into your Layerfile.
The FROM command tells webapp.io what base image to use to run tests from. We’ll use the following command below for our React App (Ubuntu 18.0.4 LTS).
FROM vm/ubuntu:18.04For more information on the FROM command, check out our docs here.
RUN Command:
Next, we need to get all the required dependencies to run our React application on the ubuntu:18.04 image. This means we’ll need to download nodejs, python, and some other core requirements. To do this, we’ll use the RUN command. The RUN command will run the given script. If the RUN command fails, the entire script fails.
As an example, open a terminal and run the command echo hello. You should see hello printed as an output in your terminal. Similarly, if you add RUN echo hello in the Layerfile, upon executing it will output hello in the terminal.
RUN curl -fSsL https://deb.nodesource.com/setup_12.x | bash && \
    apt-get install nodejs python3 make gcc build-essential && \
rm -f /etc/apt/sources.list.d/nodesource.listFor more information on the RUN command, check out our docs here.
Memory Command:
We’ve found that Node JS can be quite a memory hog at times, so we use the following two commands to help with that.
The first is the MEMORY command. This command allows you to reserve a specific amount of memory before you need it.
MEMORY 2GFor more information on the memory command, check out our docs here.
ENV Command:
The second is the ENV command. This command sets environment variables for our preview environments. The default memory limit for Node JS is 512mb, so we use the –max-old-space-size option to increase the default memory size in tandem with our ENV command.
ENV NODE_OPTIONS=--max-old-space-size=8192
COPY Command:
We’ll need to get the files from our GitHub repository to the virtual machine for our preview environment. To do this, we use the COPY command.
COPY . .For more information on the COPY command, check out our docs here.
Installing & Running the React App:
After getting our files to our virtual machine, we go back to our React fundamentals to install and run our app. In our React app we have a package.json file, which was copied over from our repository in the COPY command. To install the required dependencies as specified in the package.json file we’ll use the RUN command.
RUN npm installOnce complete, we’ll start our React application using the RUN command again. However, this time we’ll add in the BACKGROUND flag which runs the start script in the background so our virtual machine can execute the rest of the Layerfile without hanging.
RUN BACKGROUND npm startEXPOSE WEBSITE Command:
For our last step, we’ll use the command EXPOSE WEBSITE. This command creates a link to view our preview environment at a specific port/location in our virtual machine. React’s default is to run the app at http://localhost:3000, so we’ll do the following:
EXPOSE WEBSITE http://localhost:3000Layerfile & File Location:
That concludes the detailed explanation for the Layerfile! The final result should look like this:
FROM vm/ubuntu:18.04

RUN curl -fSsL https://deb.nodesource.com/setup_12.x | bash && \
    apt-get install nodejs python3 make gcc build-essential && \
    rm -f /etc/apt/sources.list.d/nodesource.list

MEMORY 2G
ENV NODE_OPTIONS=--max-old-space-size=8192

COPY . .
RUN npm install
RUN BACKGROUND npm start

EXPOSE WEBSITE http://localhost:3000
This file should sit in the project directory as follows:
Phase 5: Push your code
After creating your Layerfile, push the code to your repository. We’ll use the following commands:
git add .
git commit -m “adding Layerfile”
git push origin master
Phase 6: Check out your preview environment
Head over to https://webapp.io/login and sign in with the account you created in the previous step. If you head over to the “Recent Commits” tab, you should see a run starting for the project.

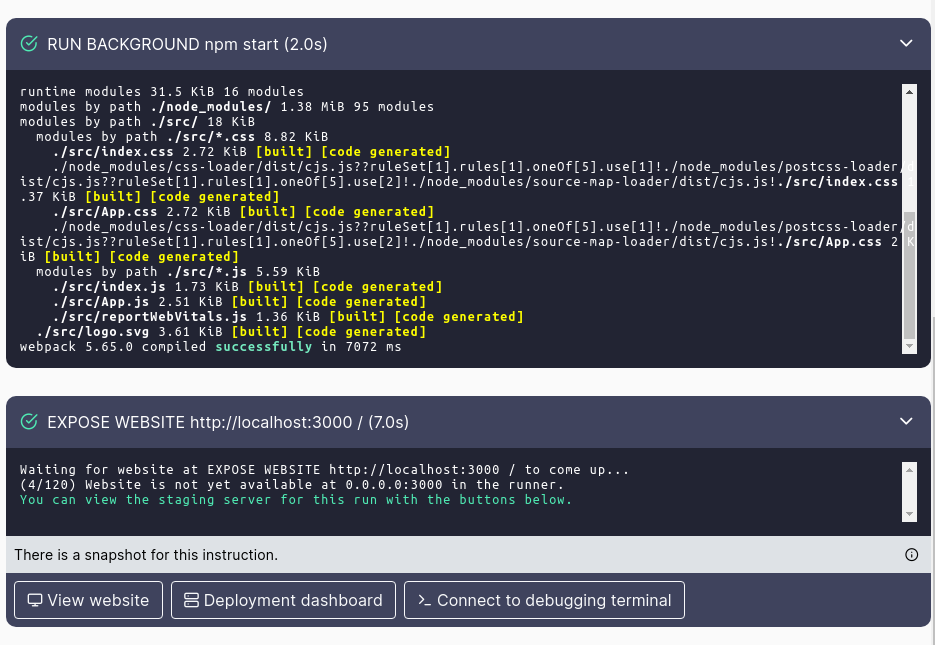
Once your Layerfile has finished executing, scroll to the bottom and click on "View Website".
The preview environment may take a few moments to start up, but shortly after you’ll be redirected to the preview environment for your React app!
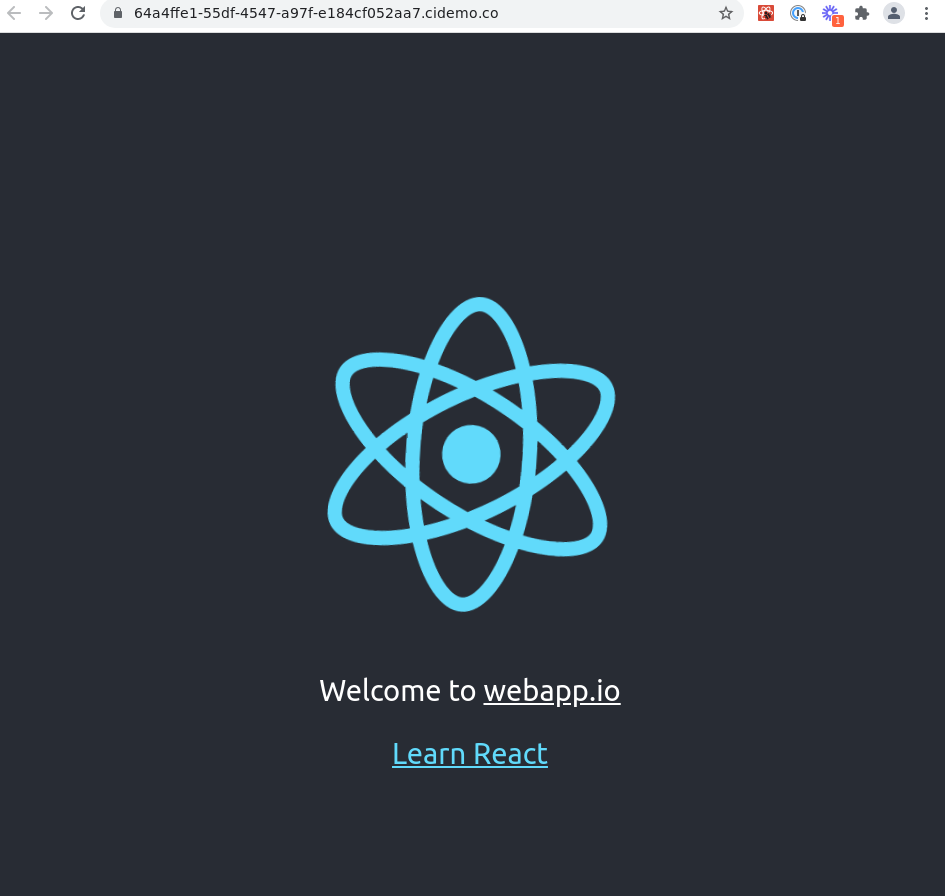
After getting redirected to the website, take note of the URL UUID.cidemo.co. Every time you make a change to your project, you'll get a unique URL with your preview environment (specific domains can be configured in the "Custom Domains" tab in https://webapp.io).
Feel free to share this link around, this preview environment will be available temporarily to users who are apart of your organization in webapp.io.
That concludes our tutorial, please feel free to reach out to our team if you have any questions. If you have a more complex project and need some help setting up, check out our docs or book a call with me so I can help out!
** NOTE: This tutorial went through a simple example using create-react-app, however Layerfile's can support any configuration of your application regardless of the stack or technology used. **