In our last post, we set up a simple full-stack project with NextJS and Go.
Collaborative webapps (aka real-time apps)
Most apps use CRUD (create / read / update /delete) APIs - one where the frontend sends changes to the backend, but not vice-versa.
That topic has been extensively covered by some excellent existing tutorials, so let's do something different: An app like Google Docs where multiple users can read/write a document concurrently and see other users' changes reflected in real time.
This sort of app doesn't have a standard name, though you might've heard of a "real-time app," or frameworks like Phoenix LiveView for Elixir. It's easiest to explain the difference between CRUD and these real-time apps with two diagrams.
CRUD apps allow you to send changes to a server, and allow other users to request those changes. For example, when you make a new post on Instagram, other users can't see your post until they refresh the page:

In a real-time app, all clients keep persistent WebSocket connections to the backend, and receive updates as they happen, instead of needing to wait for the user to refresh the page:

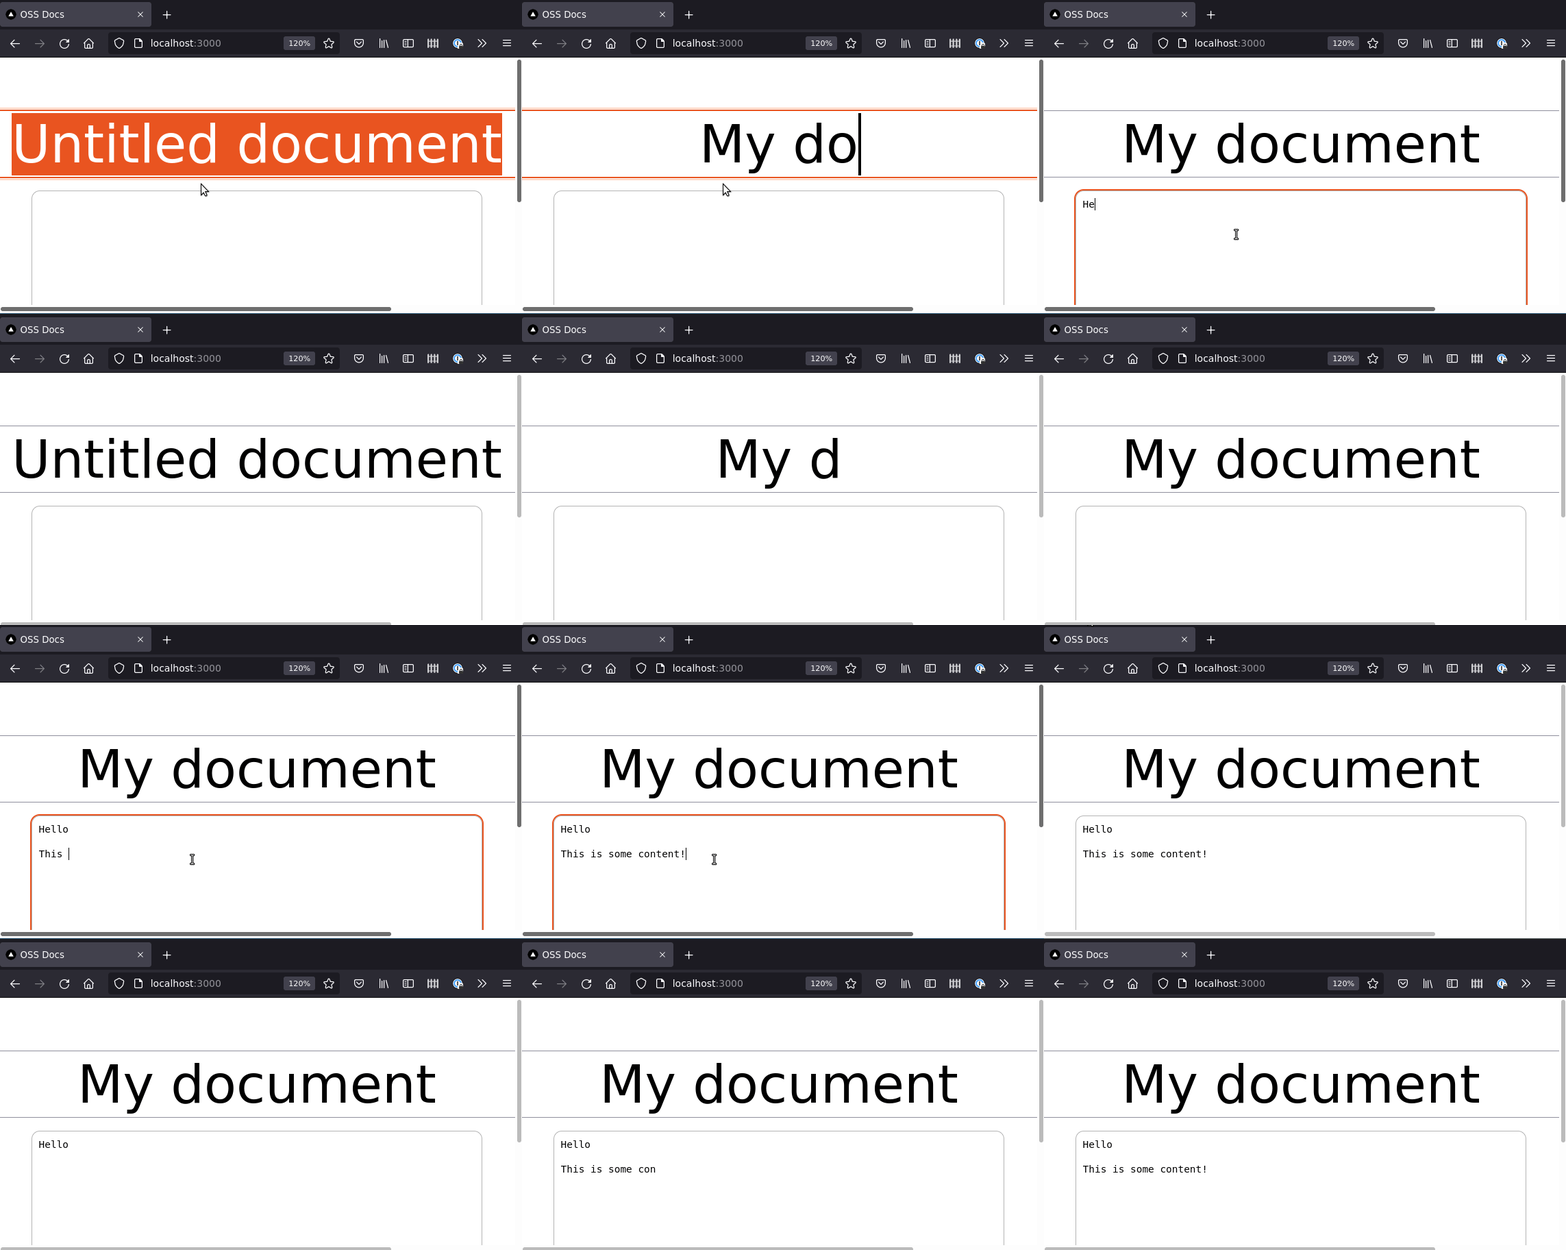
Once we're done this tutorial and the next few, we'll be able to build something that looks like Google Docs:

Enough theory, let's get coding
Let's update our sample app so that we use a WebSocket to update the state of the page after the initial page load.
The architecture

This architecture means that you can immediately view the contents of the webpage before any websockets are made (server-side rendering with NextJS), while staying updated for changes by connecting directly to the Go server.
It also means that we can keep all of our actual code in Go, and avoid using Javascript or Typescript for our backend, while still being able to use React.
Let's start with the sample project from the initial setup post: git clone https://github.com/webappio/golang-nextjs-example.git
Rename the endpoints
We'll start by renaming the endpoints - open main.go and change the handler:
func main() {
	handler := http.HandlerFunc(func(rw http.ResponseWriter, req *http.Request) {
		var resp []byte
		if req.URL.Path == "/handler-initial-data" {
			resp = []byte(`{"text": "initial"}`)
		} else if req.URL.Path == "/handler" {
			time.Sleep(time.Second) //TODO HACK: sleep a second to check everything is working properly

			resp = []byte(`{"text": "updated"}`)

			//this line is required because the browser will check permissions to avoid getting hacked
			rw.Header().Set("Access-Control-Allow-Origin", "http://localhost:3000")
		} else {
			rw.WriteHeader(http.StatusNotFound)
			return
		}

		rw.Header().Set("Content-Type", "application/json")
		rw.Header().Set("Content-Length", fmt.Sprint(len(resp)))
		rw.Write(resp)
	})

	log.Println("Server is available at http://localhost:8000")
	log.Fatal(http.ListenAndServe(":8000", handler))
}
Now we have two endpoints, http://localhost:8000/handler-initial-data is what NextJS will initially send to the browser (as HTML, due to server-side rendering), and then http://localhost:8000/handler is what our app will pull its data from.
Adding an asynchronous update to the frontend
Next, update the frontend to reference our /handler-initial-data and /handler paths in index.js:
import Head from 'next/head'
import styles from '../styles/Home.module.css'
import {useEffect, useState} from "react";

export async function getServerSideProps() {
    const initialData = await fetch("http://localhost:8000/handler-initial-data").then(x => x.json());
    return {props: {data: initialData}}
}

export default function Home(props) {
    const [data, setData] = useState(props.data);
    useEffect(() => {
        fetch("http://localhost:8000/handler")
            .then(x => x.json())
            .then(x => setData(x));
    }, [])
    return (
        <div className={styles.container}>
            <Head>
                <title>OSS Docs</title>
                <meta name="description" content="Fast like SSR, Powerful like WebSockets"/>
                <link rel="icon" href="/favicon.ico"/>
            </Head>

            <main className={styles.main}>
                <h1 className={styles.title}>
                    {props.title || "Untitled Document"}
                </h1>
                <div>Data is: {JSON.stringify(data)}</div>
            </main>
        </div>
    )
}
If you run the backend with go run main.go and the frontend with npm run dev, you should initially see Data is: {"text":"initial"} and then a second later see Data is: {"text":"updated"} - the operations that occur are:
- Your browser asks NextJS for the website HTML
- NextJS calls
getServerSideProps()andfunction Home(props)to generate that HTML, causing a HTTP request tohttp://localhost:8000/handler-initial-data - Your browser receives the HTML and JavaScript, and runs
function Homelocally - A second later, the useEffect hook finishes getting its data from
/handlerin your browser, and updatesdata, which then changes your site locally
Adding a websocket
To build something like Google Docs, we'd like to be able to send our changes to the backend and also receive other peoples' changes as they come in. That means we need bi-directional communication, which is exactly what WebSockets help with.
Go doesn't come with a WebSocket library, so let's install one:
# NOTE: if you have a GitHub or GitLab repository, change this line
user@computer:my-project/services/backend$ go mod init github.com/webappio/golang-nextjs-example

user@computer:my-project/services/backend$ go get github.com/gobwas/ws
And update our backend to handle WebSockets at /handler:
if req.URL.Path == "/handler" {
	conn, _, _, err := ws.UpgradeHTTP(req, rw)
	if err != nil {
		log.Println("Error with WebSocket: ", err)
		rw.WriteHeader(http.StatusMethodNotAllowed)
		return
	}
	go func() {
		defer conn.Close()

		time.Sleep(time.Second) //TODO HACK: sleep a second to check everything is working properly
		err = wsutil.WriteServerMessage(conn, ws.OpText, []byte(`{"text": "from-websocket"}`))
		if err != nil {
			log.Println("Error writing WebSocket data: ", err)
			return
		}
	}()
	return
}
Adding the installed library to our imports:
import (
	"fmt"
	"github.com/gobwas/ws"
	"github.com/gobwas/ws/wsutil"
	"log"
	"net/http"
	"time"
)
Finally, we can change our frontend to use a WebSocket instead of a fetch call:
export default function Home(props) {
    const [data, setData] = useState(props.data);
    const [ws, setWS] = useState(null);
    useEffect(() => {
        const newWS = new WebSocket("ws://localhost:8000/handler")
        newWS.onerror = err => console.error(err);
        newWS.onopen = () => setWS(newWS);
        newWS.onmessage = msg => setData(JSON.parse(msg.data));
    }, [])
    return (
        <div className={styles.container}>
            <Head>
                <title>OSS Docs</title>
                <meta name="description" content="Fast like SSR, Powerful like WebSockets"/>
                <link rel="icon" href="/favicon.ico"/>
            </Head>

            <main className={styles.main}>
                <h1 className={styles.title}>
                    {props.title || "Untitled Document"}
                </h1>
                <div>Data is: {JSON.stringify(data)}</div>
            </main>
        </div>
    )
}
After restarting the backend (ctrl + c, up arrow, enter), you should see the text quickly change from Data is: {"text":"initial"} to Data is: {"text":"from-websocket"} - the same result as our fetch implementation, but now we have two new methods:
ws.send(...)in our frontend will send data to our backend, andwsutil.WriteServerMessagein our backend will send data to our frontend
The repository for this article (as it was at the time of writing) is available here.
Check back next week to see how we can use this foundation to make a performant clone of Google Docs.